What Is an RFID Inventory System? (No Jargon, Just Facts)
146Discover what an RFID inventory system is, how it automates tracking, its benefits over barcodes, and real-world applications. Optimize your operations with Cykeo.
MoreAll RFID Product
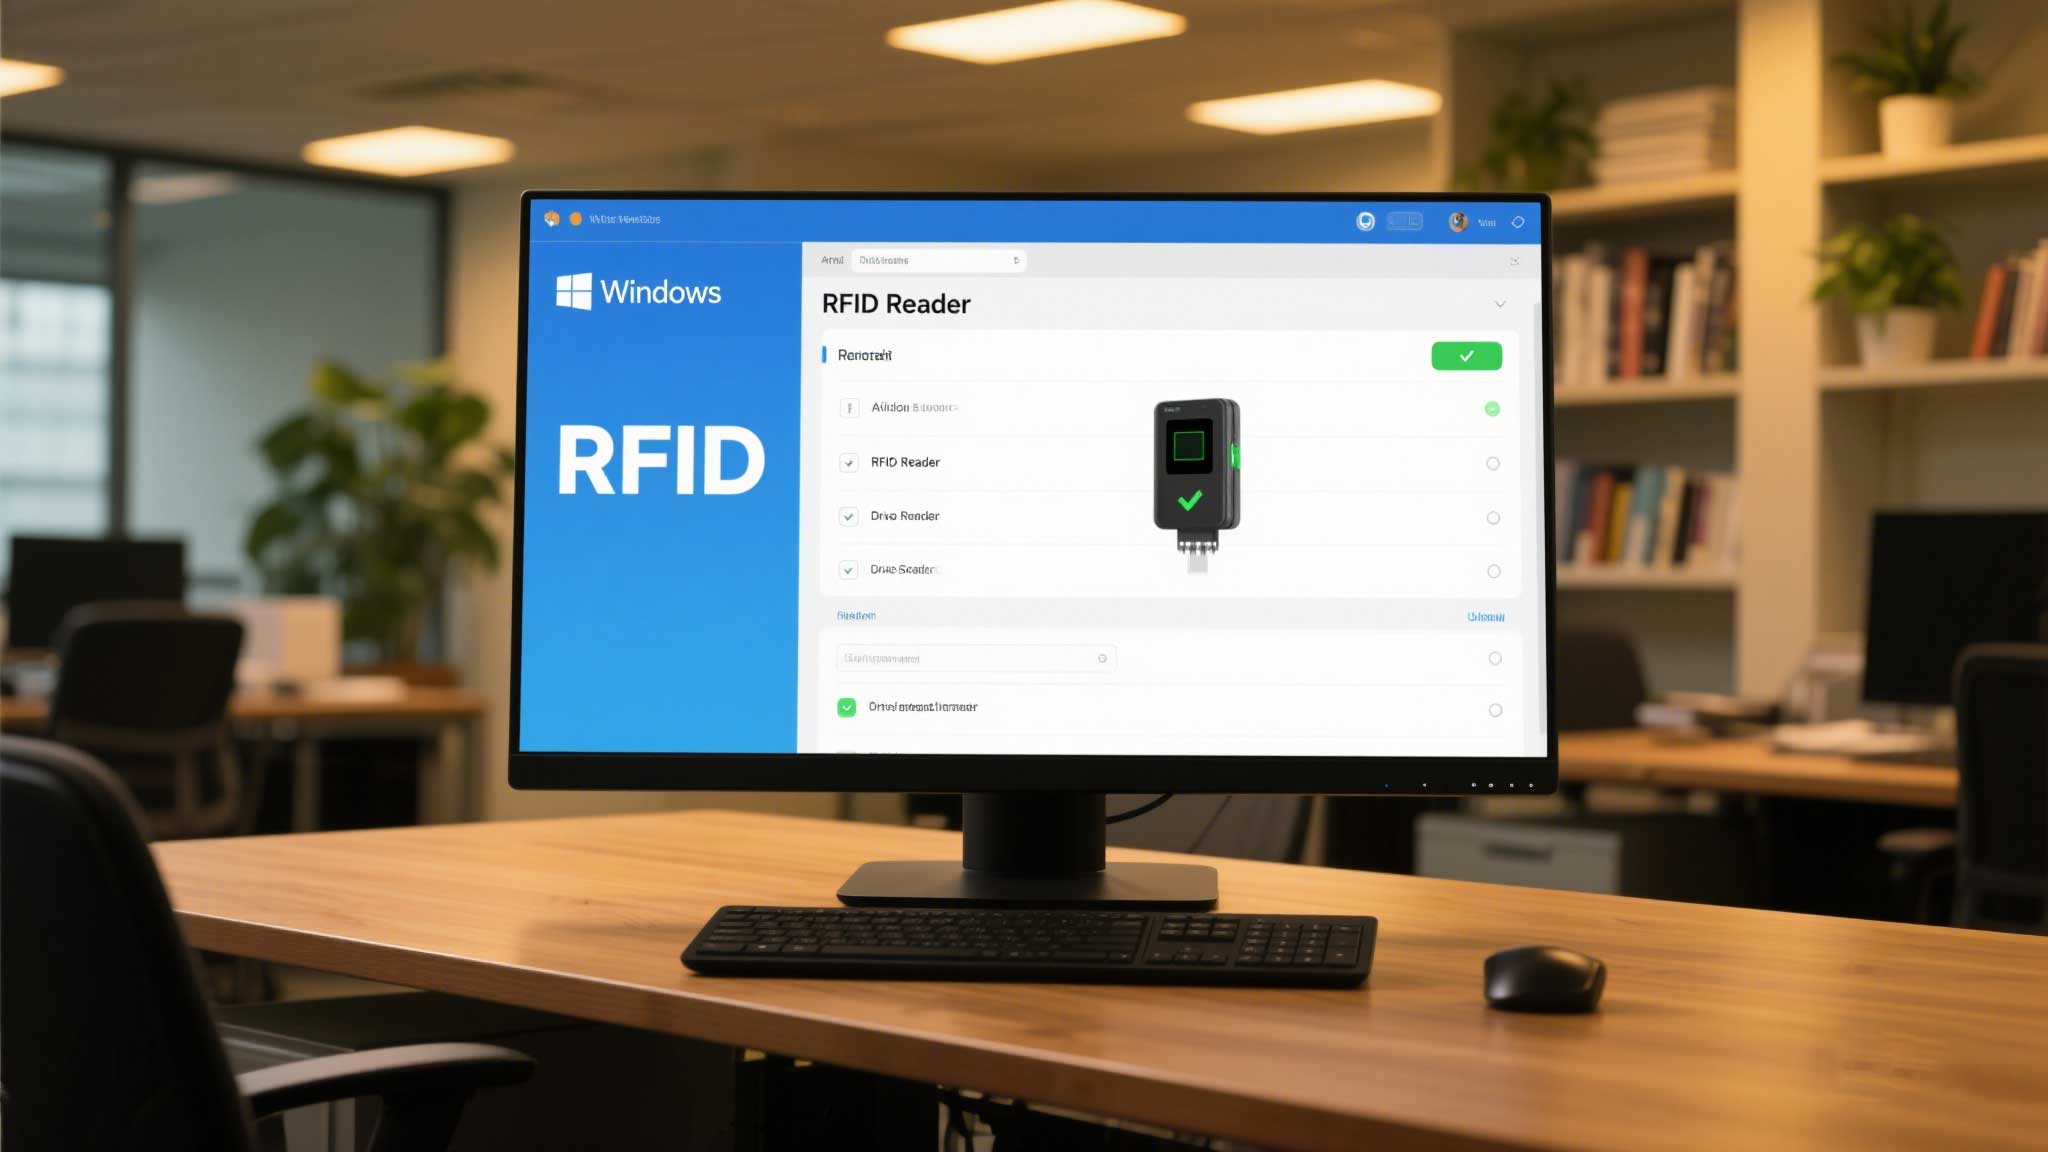
You plugged in your USB RFID reader, but Windows 11 acts like it’s invisible. The driver won’t install, your inventory software ignores it, and you’re one error message away from tossing it out the window. Sound familiar? Let’s fix this mess—no tech jargon, just straight fixes to get you scanning in 15 minutes.

a. Automatic Install (For Most Readers)
b. Manual Install (If Windows Gives Up)
Pro Tip: Disable driver updates to prevent Windows from overwriting:

a. Use Notepad for a Quick Check
b. Verify in Device Manager
a. Recommended Free Tools
b. Software Setup
Cykeo Bonus: Their free “ScanLite” software auto-detects most USB readers without complex configs.
a. “Device Not Detected”
b. “Tag Scanned, But Software Ignores It”
c. “Inconsistent or Slow Reads”

a. Assign Tag IDs to Products
b. Schedule Bulk Scans
c. Backup Your Config
Takeaway: Setting up a USB RFID reader on Windows 11 isn’t about luck—it’s about brute-forcing drivers and testing with free tools first. Skip the frustration, follow these steps, and if your reader still acts up? Return it. Life’s too short for flaky tech.
Discover what an RFID inventory system is, how it automates tracking, its benefits over barcodes, and real-world applications. Optimize your operations with Cykeo.
MoreiOS read RFID solutions tested: Discover which setups actually work for inventory. See iPhone compatibility, hidden costs, and how Cykeo users avoid common fails.
MoreLearn how to seamlessly connect long-range RFID readers to IoT platforms for real-time asset tracking. Discover Cykeo’s solutions for industrial automation and smart supply chains.
MoreRFID card readers aren’t just gadgets. This practical guide explores real-world setups, common hiccups, and lessons learned in offices, warehouses, schools, and DIY projects, with hands-on tips and observations.
More